Zapier Integration
From this article, you will learn how to connect your BotStar Account to Zapier to automate tasks with other web apps.
Zapier is an online automation tool that connects BotStar and your favorite apps, such as Gmail, HubSpot CRM, Google Sheets, and over 1,000 other apps. You can use Zapier to stay in touch with customers by adding a new contact from chatbot to your mailing list in MailChimp; add/update a contact in your CRM when you get a subscriber or a user contact; create a deal in other apps when chatbot receives a deal from a customer; etc.
To see if your app can connect to BotStar through Zapier, you can click here.
Note: This article assumes that you already have a BotStar account, Zapier account and other app accounts that you want to integrate.
Supported Triggers
- New Checkpoint Record: Triggers when a new checkpoint record is created
- New Subscriber: Triggers when a chat user becomes a subscriber of the chatbot
- Updated User Attribute: Triggers when a specified User Attribute has been added or updated audiences
- New Request for Human Takeover: Triggers when a user request to talk to a human operator/ live agent
- New Tag on User: Triggers when a new tag is added to a user
How to Get Started with BotStar on Zapier
Using prebuilt Zap Templates
Zap Templates are ready-to-use integrations or Zaps between BotStar and pre-selected apps. Within just a few clicks, they help you discover a use case, connect apps, and turn on the Zap easily. Zap Templates are the fastest way for you to automate workflows.
Here is a list of tutorials about how to use Zap templates: HubSpot, Zendesk, Pipedrive, Copper, Zoho CRM, Salesforce, Agile CRM, Freshsales, ActiveCampaign, Mailchimp.
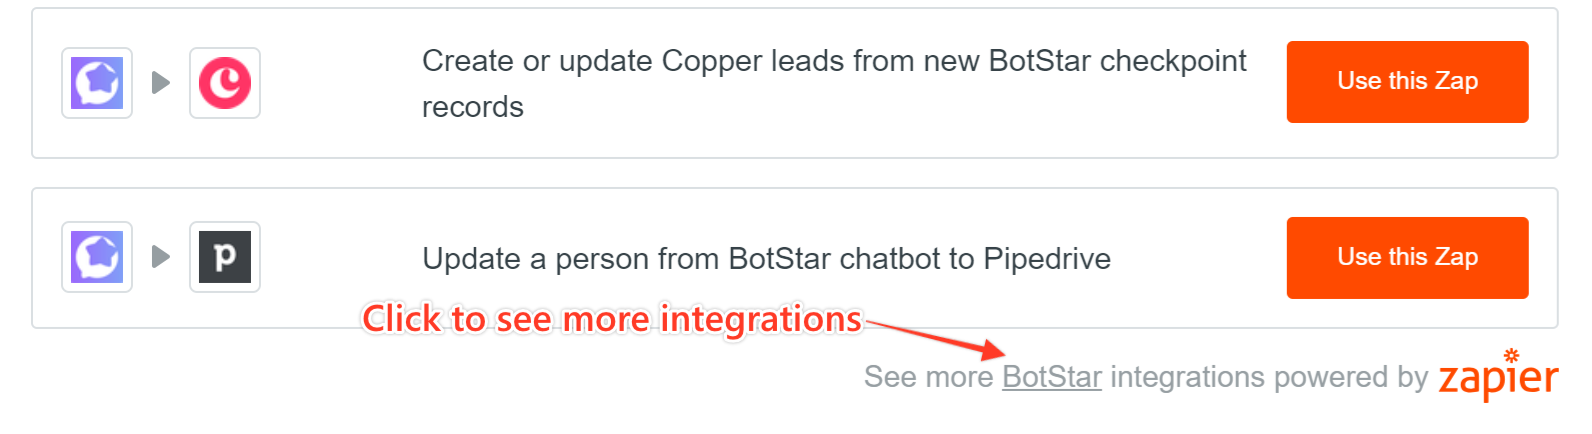
You can use Zap Templates by going to Bot Builder > Integrations in BotStar App, choose one of the listed Zap Templates and click on the "Use this Zap" button to try them out right away! Check out prebuilt Zap Templates on Zapier!

Creating a Zap by yourself
In case you want to create your own Zap (not using our Zap Templates), these following steps can help you to integrate BotStar and any apps in Zapier. In this tutorial, we will guide you step-by-step on how to transfer data from your BotStar chatbot to Google Sheets.
The idea is to collect data submitted by your users to Checkpoint records, then transfer the data automatically to Google Sheet. If you don’t know much about Checkpoint, learn more about this feature here before continuing on this tutorial.
To connect BotStar and Google Sheets through Zapier, follow these steps:
1. Prepare a Google sheet
Before connecting, you need to prepare a Google sheet with the headers as in the picture below.

2. Go to Zapier
You can go to Zapier in two ways:
Go to Bot Builder > Integrations in your Bot and click on BotStar to see more integrations.
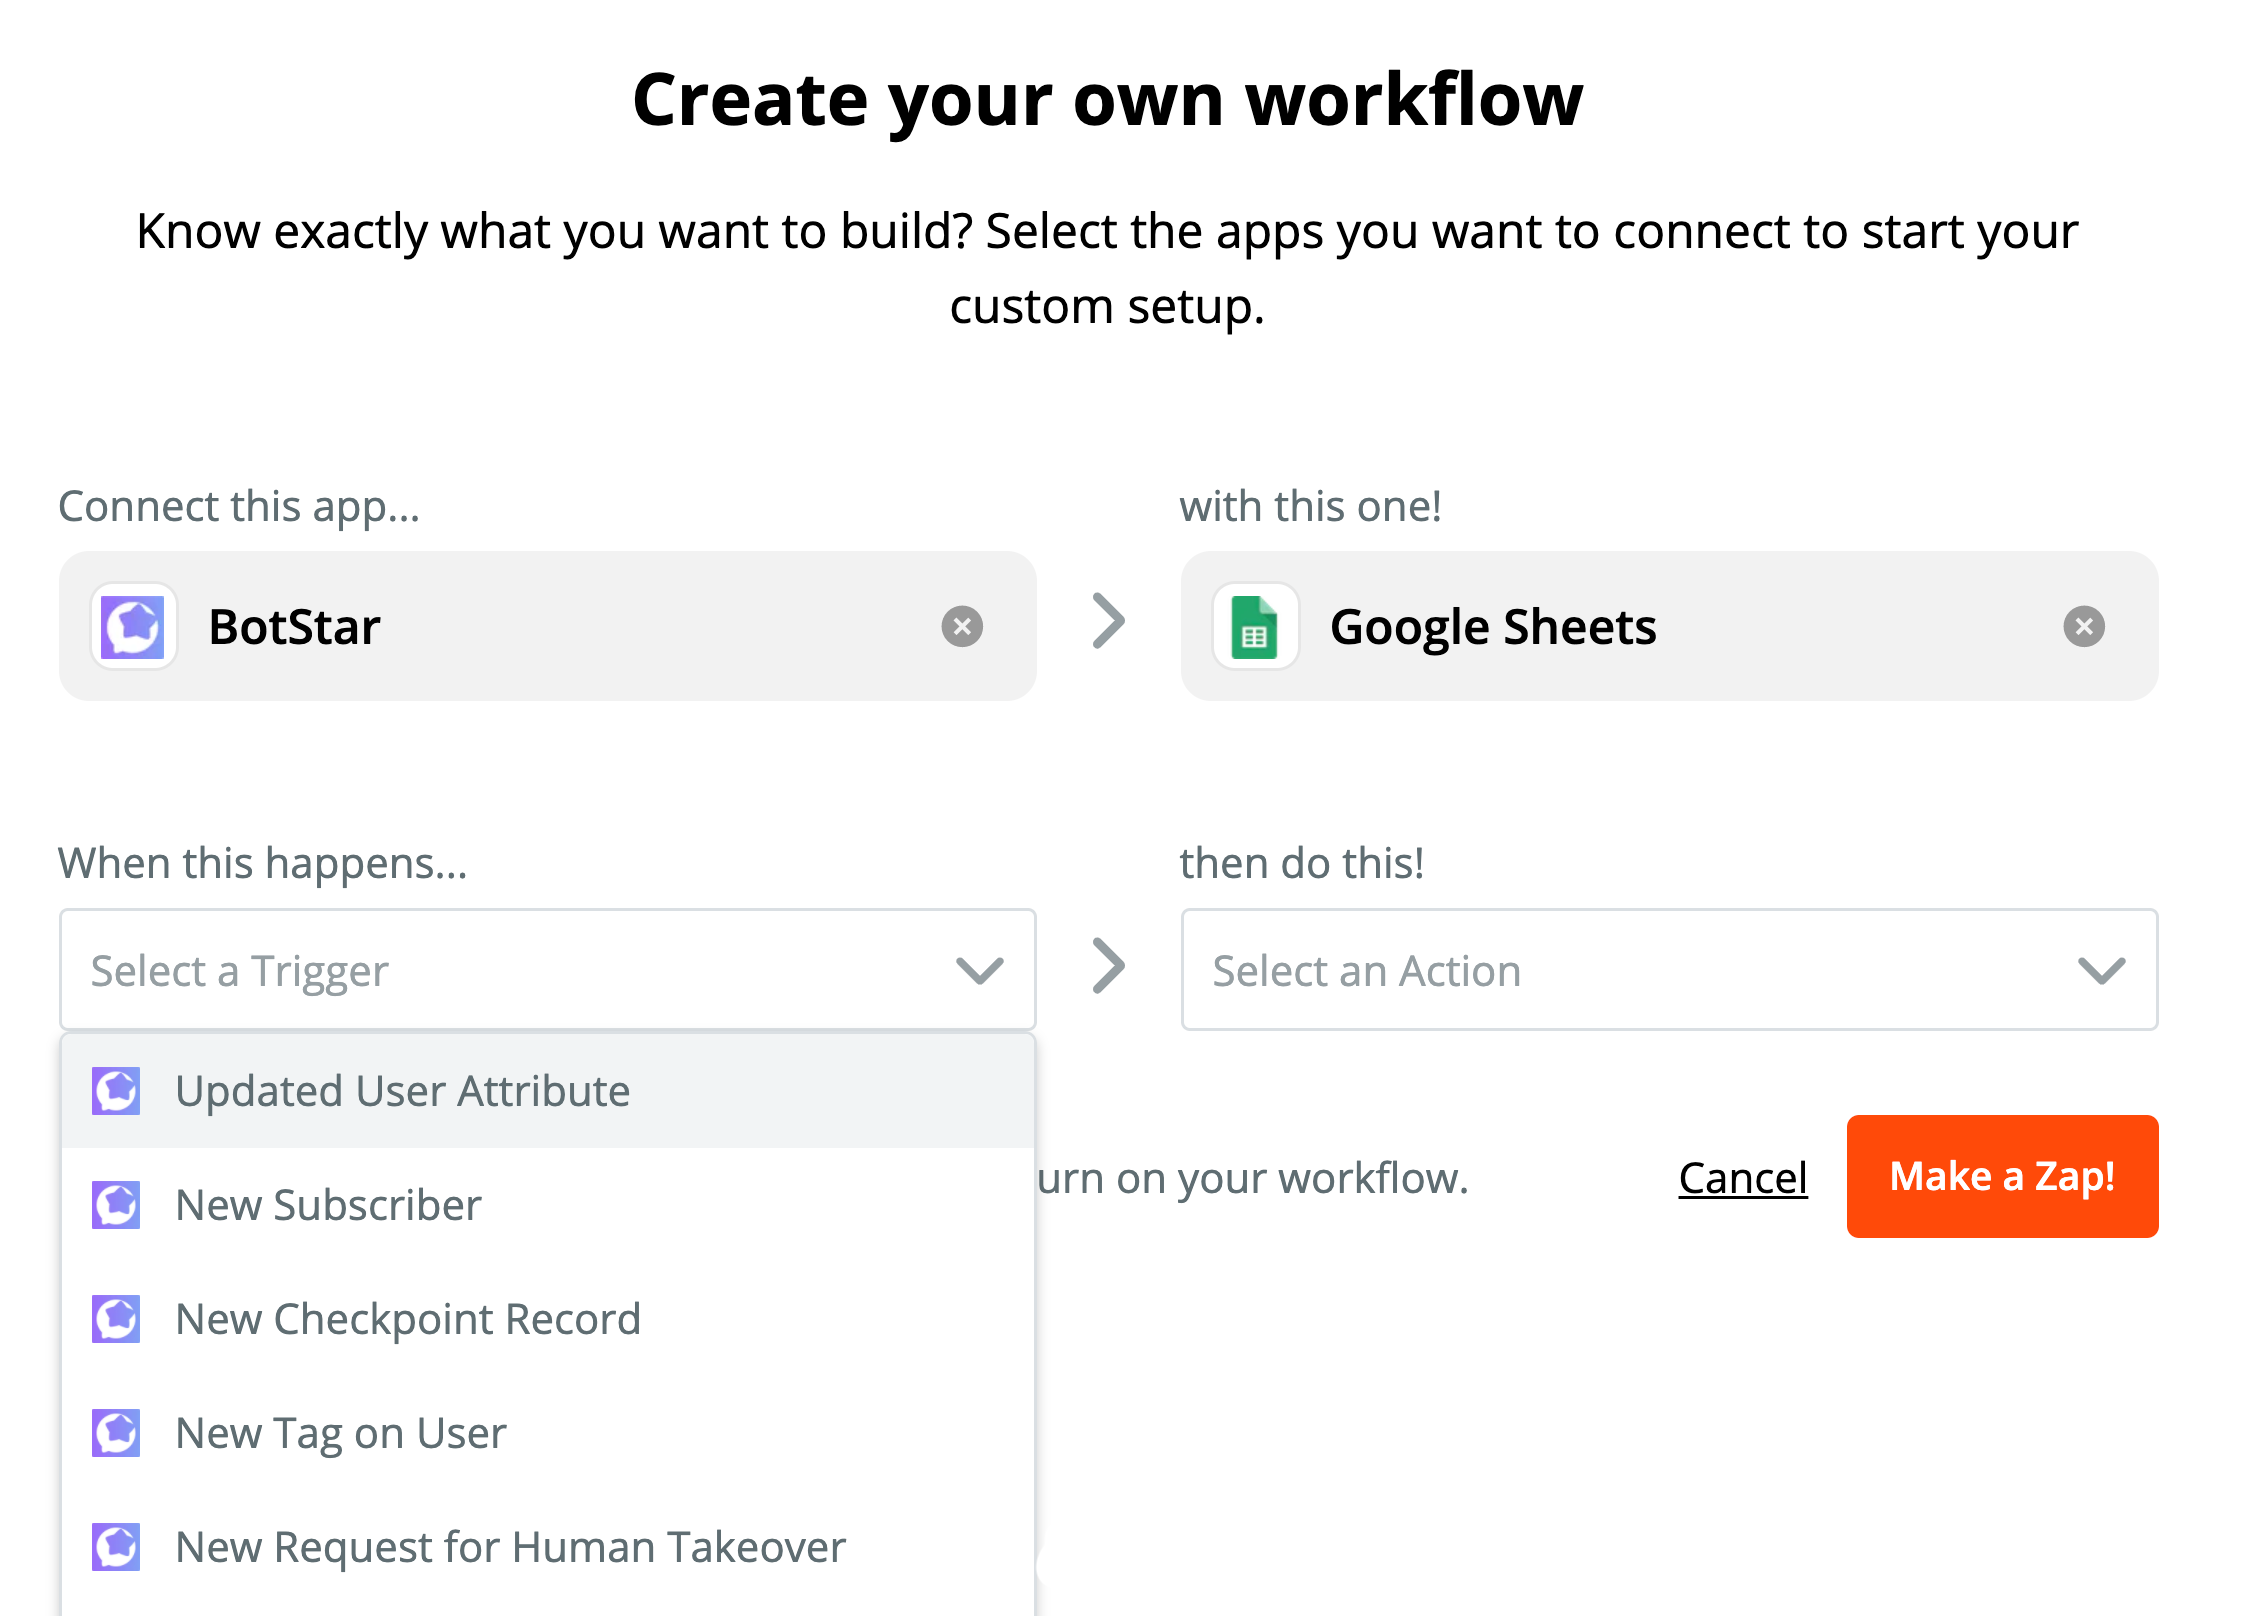
Go to Zapier App directly and press Make a Zap! button in the upper left-hand corner. Then, search and select BotStar App as a Trigger App.

3. Select Trigger
Select BotStar Trigger and click on Save + Continue button. As for this example, select New Checkpoint Record
4. Link the bot
All your connected accounts will show up here. After logging in, select existing or connect a new one by pressing Connect an Account button. Choose one of your chatbot and press Connect button.

5. Set up Options
You will set up “Environment”. There are two types of Environment:
- Live: Data generated by real users from live platforms
- Test: Data generated via local testing (Preview) in BotStar
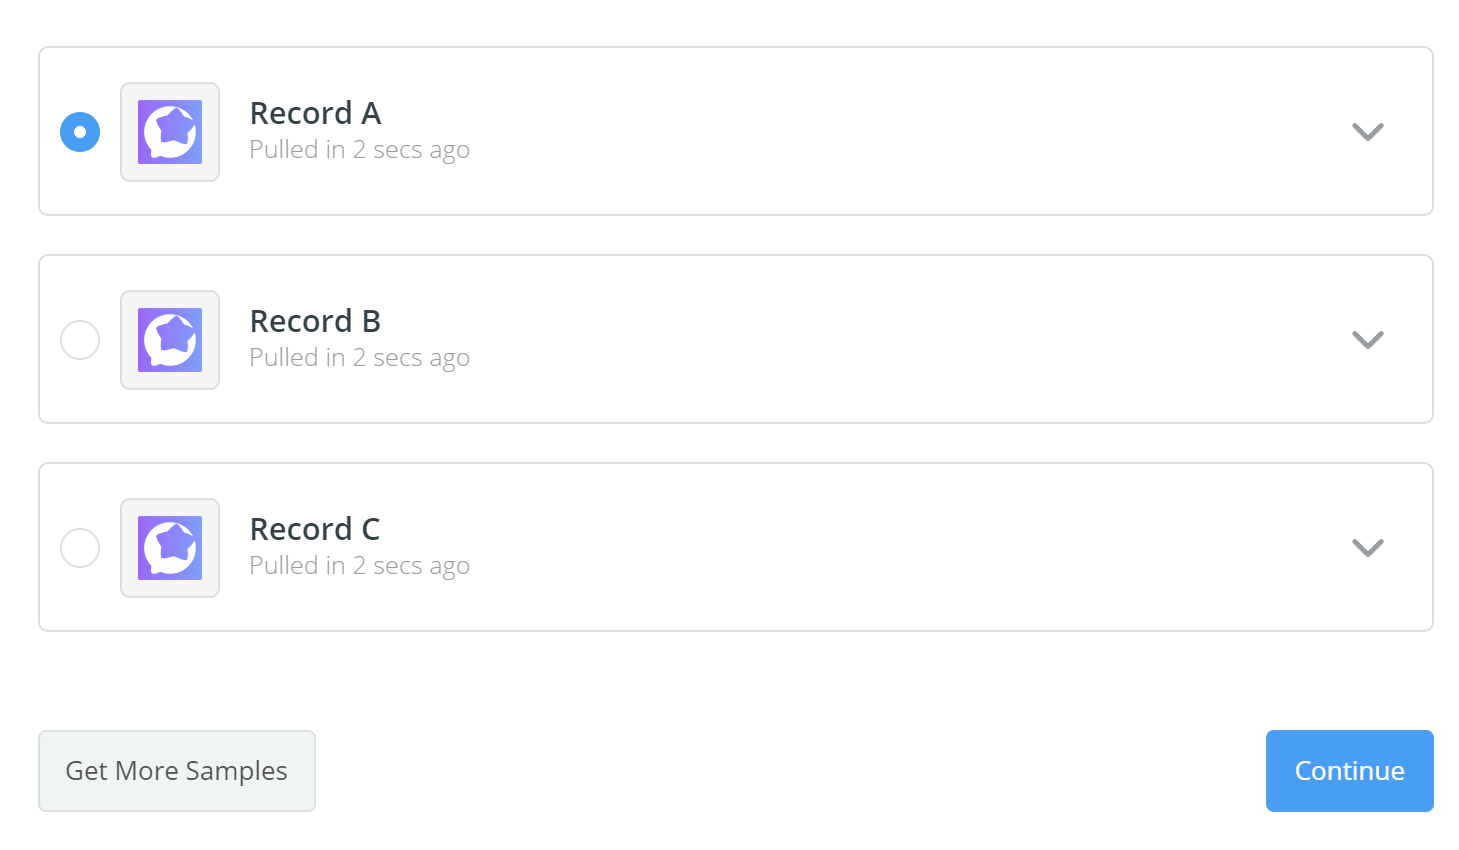
Next select the checkpoint you want to trigger. For example, select Checkpoint as Saving order (You need at least one Checkpoint in BotStar App to select from Zapier).

Click Continue to complete Trigger settings
6. Select Action
Select the Action App. Type Google Sheets in the search bar and select.

7. Verify and choose Action type
Verify your Google Sheets account and select action type

8. Set up Template
Match the sample information from Checkpoint corresponding to the columns in the table


9. Test the integration
After completing the connection between your chatbot and Google Sheets. Now you can chat with the bot and let the conversation run through the flow using Checkpoint to test the integration.
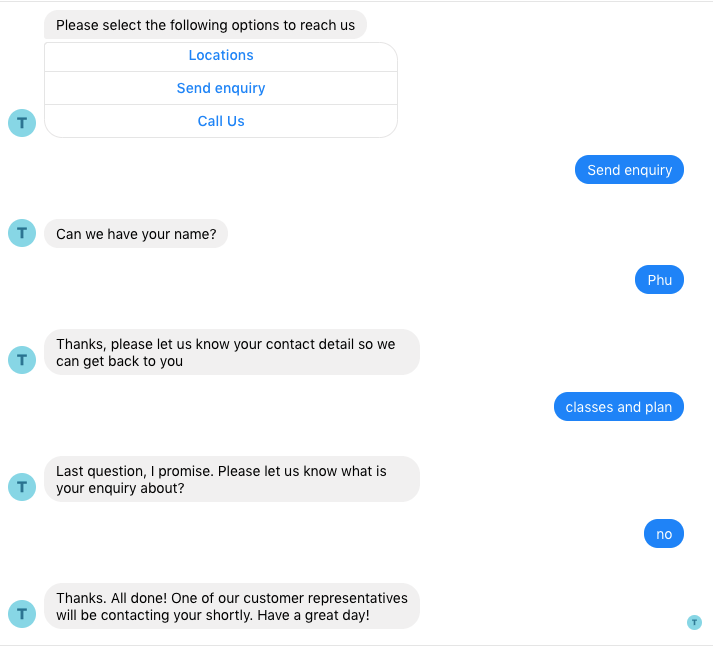
When you finish the application successfully, each time a user requests a contact, a new row in the sheet that you choose to save information will be created.

If you have any concerns, please feel free to leave a comment below or contact us through support@botstar.com. For more details on how we have helped our customers grow their business, you can view our use cases, blogs or join our BotStar community to learn and share new things 😊