Send automatic Facebook Messenger Campaigns via chatbot
Campaigns allow bot builder to set up automatic messages even when chat users do not interact with a chatbot. This feature helps you to launch products, get email subscribers, and send promotions. With campaigns, you can automate lead generation, interact with customers, and send follow-up messages. Therefore, you can engage with customers more often with a faster method.
How to set up a chatbot Campaign
These following steps can help the chatbot operator create a New Campaign:
1. Create a new chatbot campaign
1. Go to the sidebar on the top side of the page and navigate to Bot Builder > Drip Campaigns.
2. Head up to + New drip campaign or Create your first campaign button (appear on the first time) to create your new campaign.
2. Name for chatbot campaign
By default, the name of campaign is Untitled Drip Campaign 1. To rename the campaign, you just click on Untitled Campaign 1 and name for your campaign.
For the purpose of this article, we name “Test Campaign” for the campaign. Here's what you would see:

3. Setup the Trigger Point
Click on the Trigger Point to setup the time delay you want. Every message is delivered after a certain time. You can setup the trigger points of Immediately/ Minutes/ Hours/ Days at Trigger Point. In the meantime, enter the valid number at the number box.

In the Campaign Trigger point, the first message will be sent after a user subscribes to this campaign. The next message will be sent after the previous message.
4. Create the Content
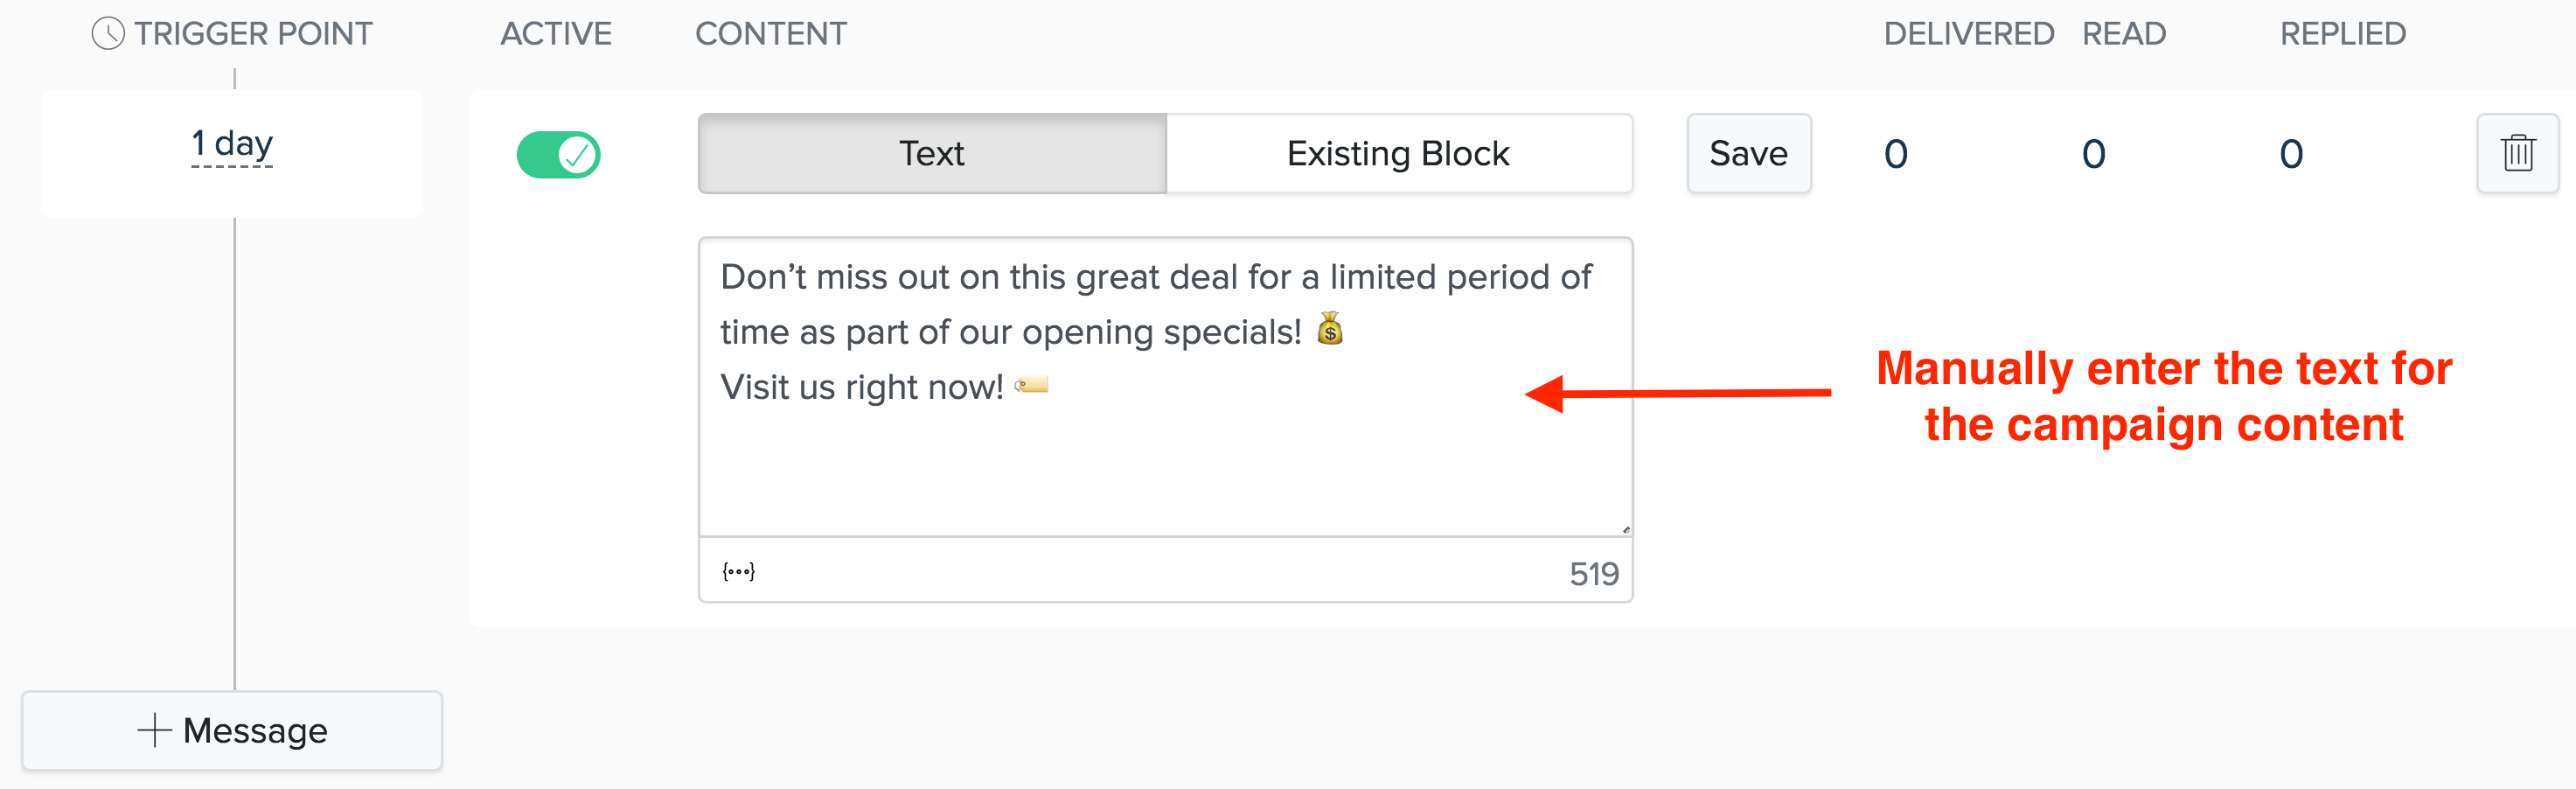
You can enter the Text manually or using an Existing Block. Then, click Save to finish setting up the content for Campaign.
Here's what you would see if you enter the text manually for the campaign content:
Here's what you would see if you use an existing block for the campaign content:

With the message outside 24 hours, it is recommended that you choose Message Tag (Content Type) to get rid of Facebook banned messages due to Facebook’s 24-hour policy.

Note: This feature is highly recommended for messages triggered by day(s). However, we also recommended you use Message Tag for all the messages.
5. Add the Customer to Campaign
There are two ways to add your customer to a Campaign:
Automatically add your customer to a campaign in Bot Builder by using the Action called Add to Campaign. This can be seen from the following illustration:

Manually select and add some customers to your campaign, please follow these steps below:
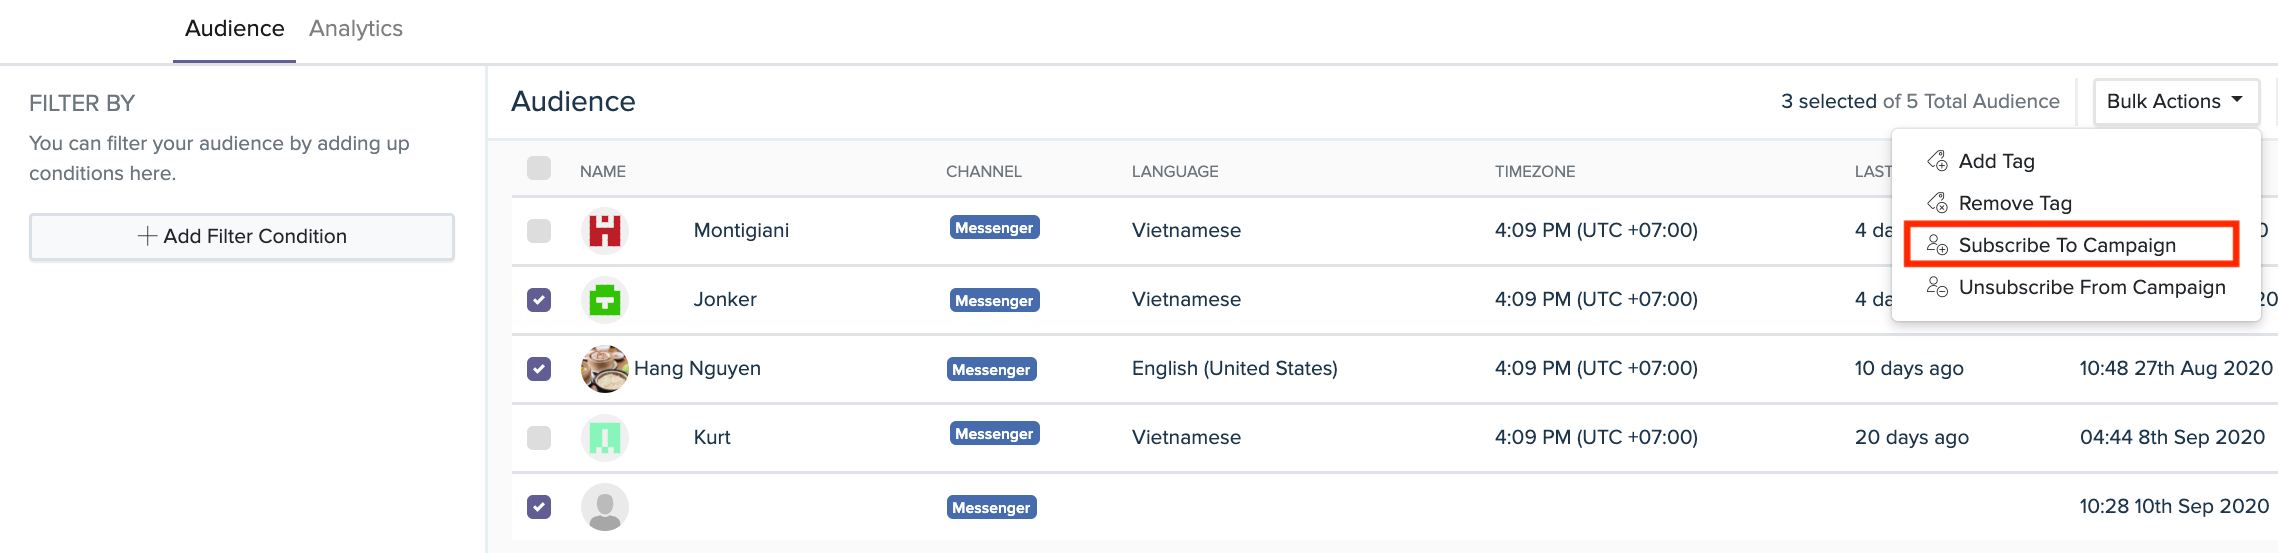
1. Go to the sidebar on the top side of the page and navigate to Reports & Insights > Audience
2. Tick at the box of the customer that you want to add campaign to. You can also select/deselect all if you want. Choose the Bulk Actions on the right hand. Proceed to select Subscribe to Campaign
3. Choose the name of campaign that you want to add to customer. Here, we select Test Campaign, the one we have already created at the previous step.
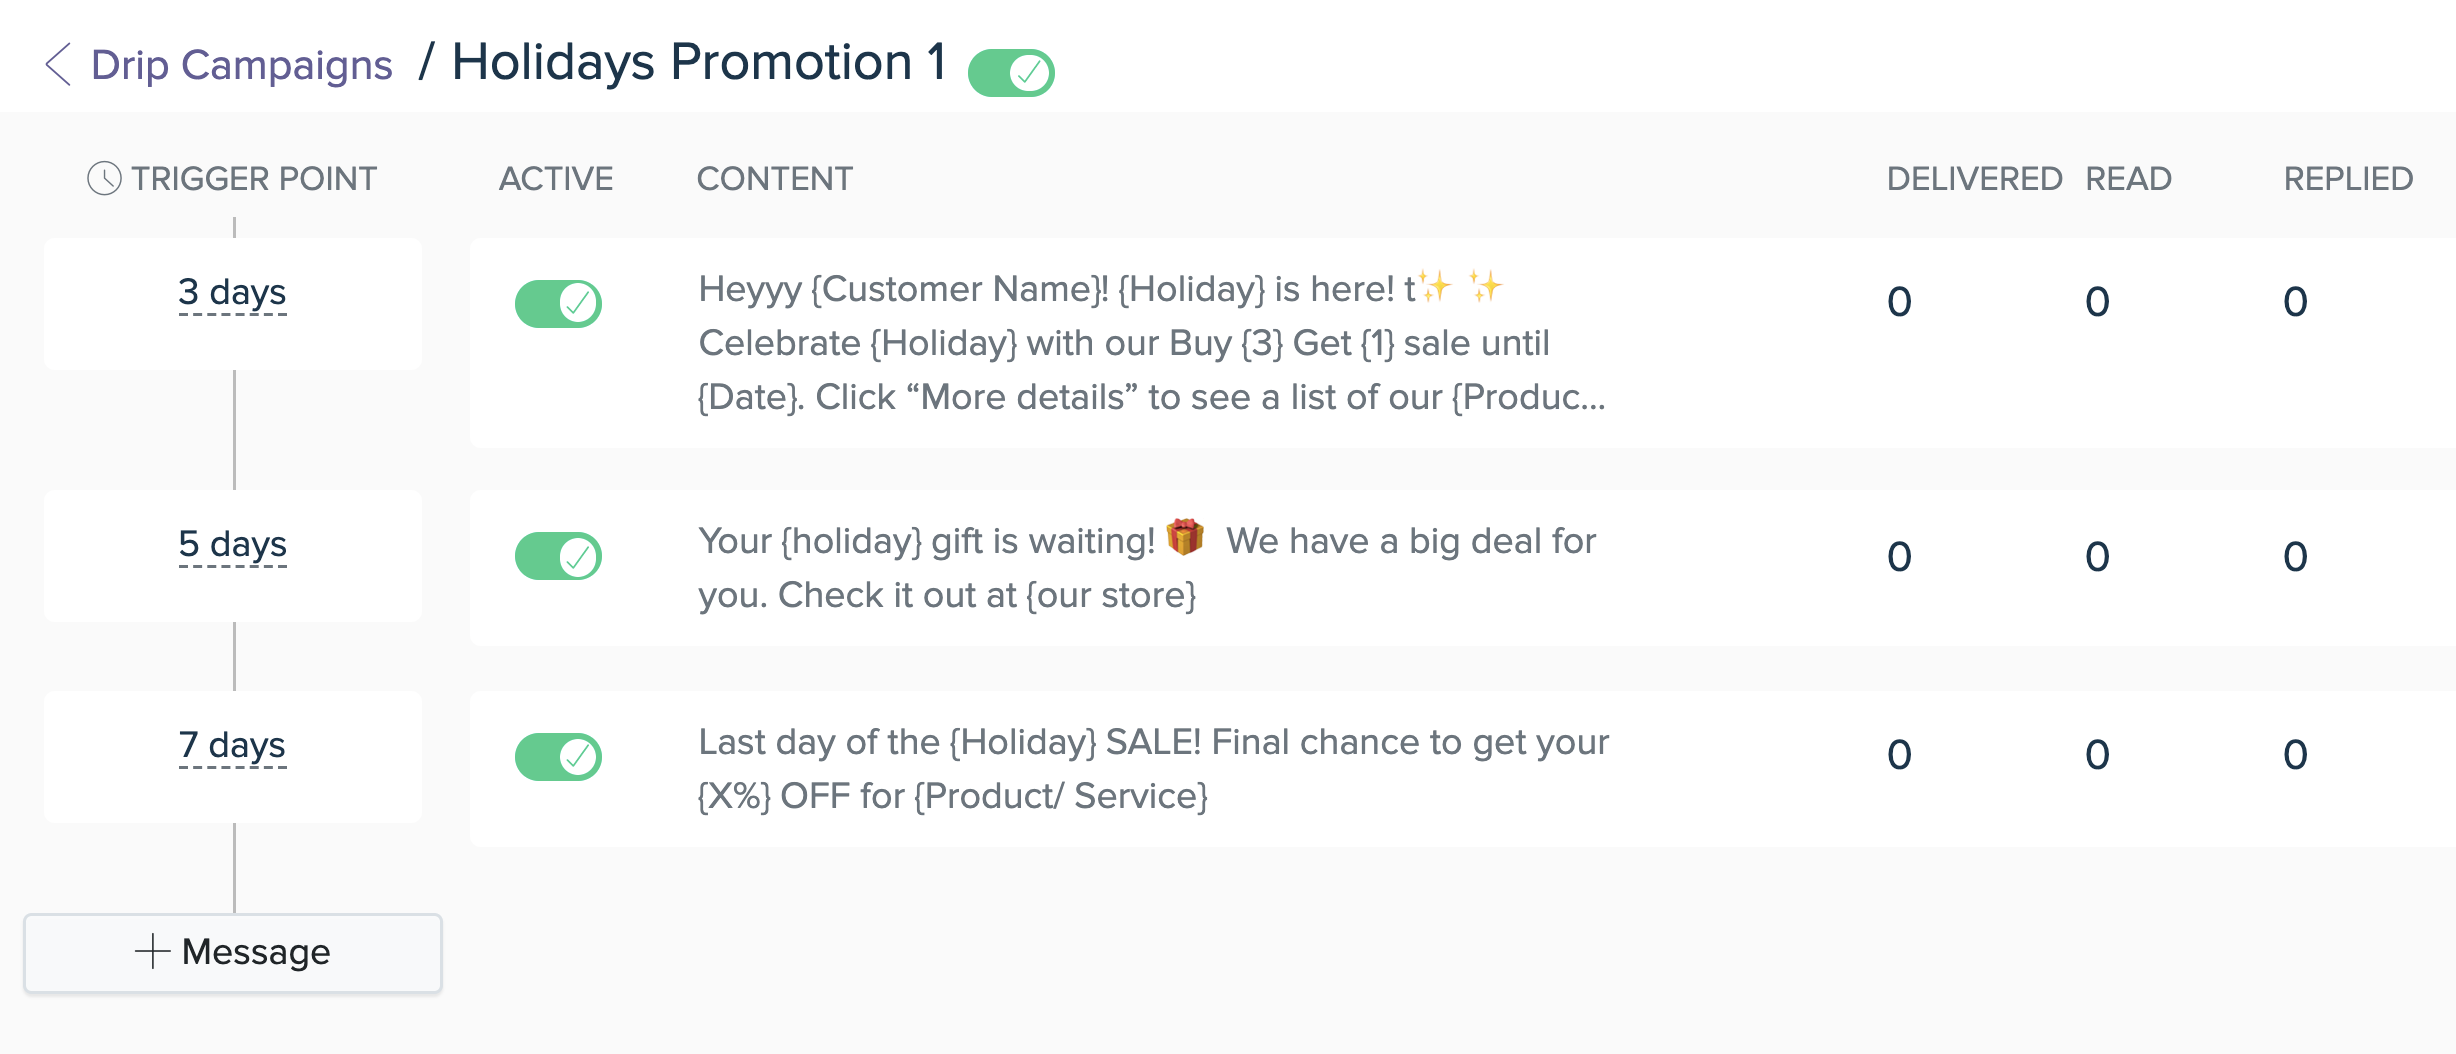
Undelivered Message
As you can see on the right of the Content, there are columns of Delivered/ Read/ Replied. For most of the campaigns, you set the Trigger points before adding customers and start the campaign. However, in some cases, you might want to edit the trigger point while running the campaign. Therefore, some messages might become “undelivered messages" because the real-time has passed the new trigger point you set for the next message in the campaign.
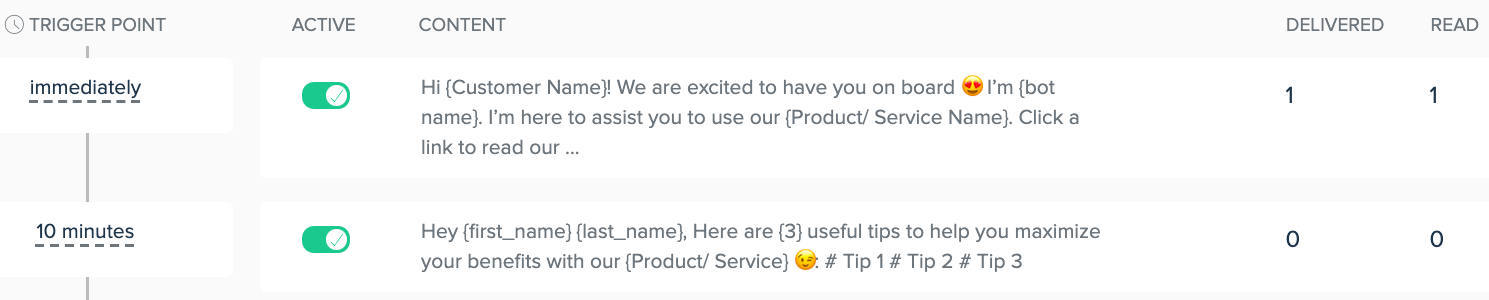
For example, one chat user interacted with the bot and got the first campaign message immediately (at 9 a.m). Then the next message was expected to come to that chat user after 30 minutes (at 9:30 a.m). However, around 9:20 a.m, the bot builder changed the trigger point to send the second message 10 minutes after the first message (bot understands that the message should be sent at 9:10 a.m). The result comes as the second message could not be sent. It is an undelivered message.
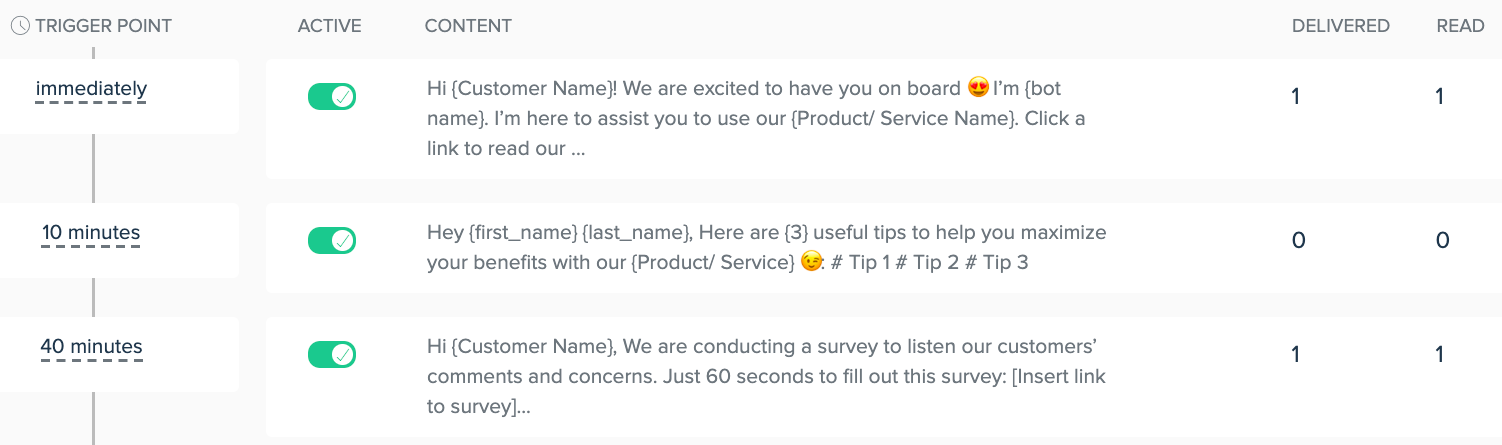
In the end, if the Campaign for a chat user got an undelivered message, the next message will be triggered after a set time from the previous active message (the second message cannot be sent and the third message will come 40 minutes after the first message).
Chatbot campaign template by BotStar
Since you’re familiar with the basics, let’s look at some more Campaign Template created by BotStar.

Click one of the best Campaign Templates you want: Promotion, Customers Onboarding, Holidays Promotion, Prevent Slipping Away.
Here's what you would see when you apply Promotion Campaign Template.
Once you’ve created campaign from the Campaign Template, you can completely edit the content or select the trigger point that you want.
If you have any concerns, please feel free to leave a comment below or contact us through support@botstar.com. For more details on how we have helped our customers grow their business, you can view our use cases, blogs or join our BotStar community to learn and share new things 😊