Integrate your chatbot with Salesforce
Using Salesforce to manage contacts, track sales activity - every lead, opportunity and customer. Salesforce will enable your organization to provide a satisfying experience to your customers.
This article shows you how to connect Salesforce with BotStar through Zapier. BotStar application currently supports these following Triggers: New Checkpoint Record, New Subscriber, Updated User Attribute, New Request for Human Takeover, New Tag on User. For more information, please see Zapier before continuing this tutorial.
Here's a diagram of BotStar and Salesforce integrations:

The diagram shows how Zapier works when integrating BotStar and CRM systems (Customer Relationship Management). As shown in the diagram above, when a BotStar bot receives user input, Zapier can create automations between apps by using Triggers and Actions. Trigger is the event in an app that starts the Zap. Action is the event that completes a Zap.
In just a few minutes and without coding, Zapier supports you to integrate BotStar and Salesforce easily.
Note: This tutorial assumes that you already have a BotStar account, Zapier account, and Salesforce.
Connect to Salesforce through Zapier
This tutorial will guide you to use prebuilt Zap Template: Add new Salesforce CRM contacts for all new BotStar subscribers. Zap Templates are the fastest way for you to automate workflows.
Expected result
After the successful integration, data in Salesforce is updated whenever a user enters information about their contact. The result will be as below:
Users enter their information when chatting with bot:

Here is a list of contacts in Salesforce:

Setting up the integration
Step 1: Go to Bot Builder > Integrations in your Bot and enable Zapier. Then choose a Zap Template Add new Salesforce CRM contacts for all new BotStar subscribers and click Use this Zap.

Step 2: Click + Add a new account to create a new one (If you don't have an existing account). All your bots will show up here, choose one of your chatbots, and click Connect. You can also select from an existing account.

After connecting with the bot, click the Continue.

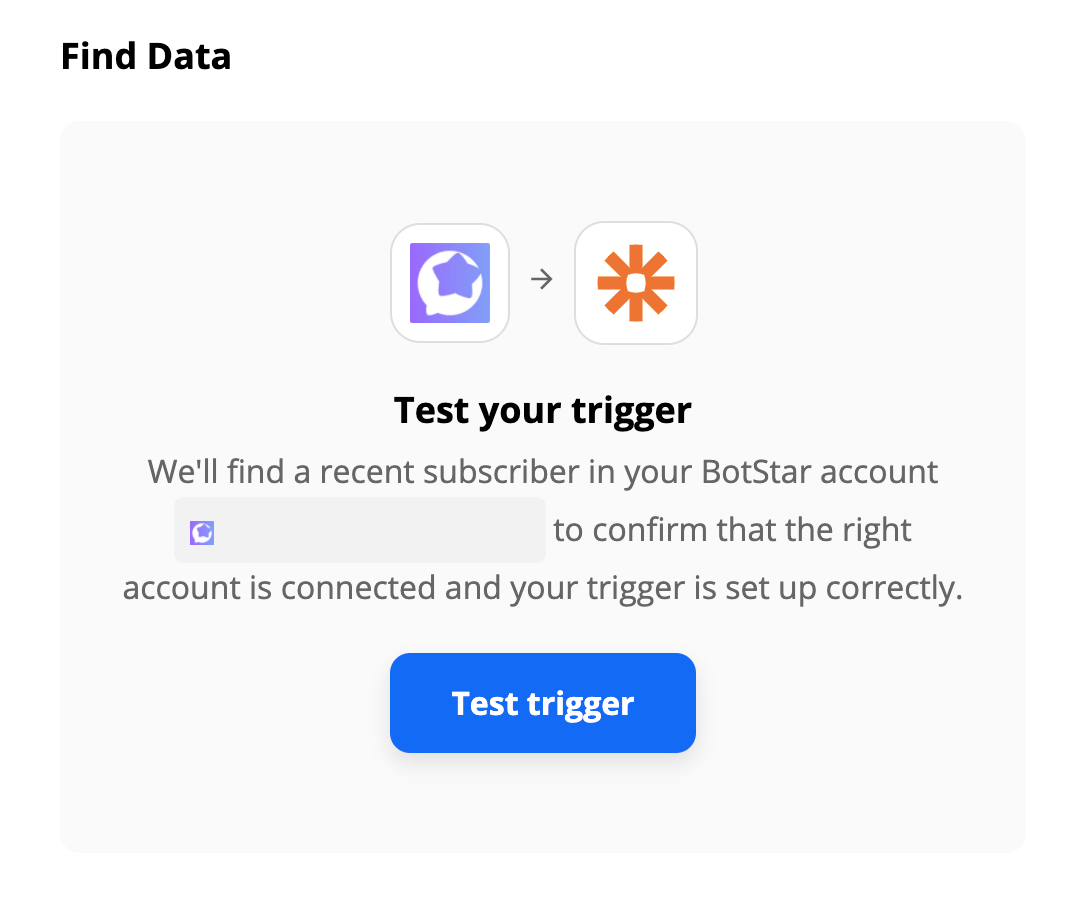
Step 3: Click Test Trigger.
Step 4: Pick a sample to set up your Zap.

Step 5: Select Salesforce Action Create Record and click Continue.

Step 6: Sign in to Salesforce to start the verification process.

Select Salesforce Environment and then click Yes, continue.

Click Allow button to finish the verification process.

Step 7: Choose a Salesforce account, After that, click Continue button.

Step 8: Match the sample information to the columns.

Step 9: After setting up the template for Salesforce, the application will request you the final test. The successful test will be shown as below:

Step 10: Turn on your Zap. So that it will run automatically from now until you turn it OFF.
Congratulations! Finally, you completed the integration between your chatbot and Salesforce application. Now, you can test the success of integration by chatting with bot and see the result of successful integration. Also, you can edit the steps or change specific details at any time by finding all of your Zaps on your My Apps page